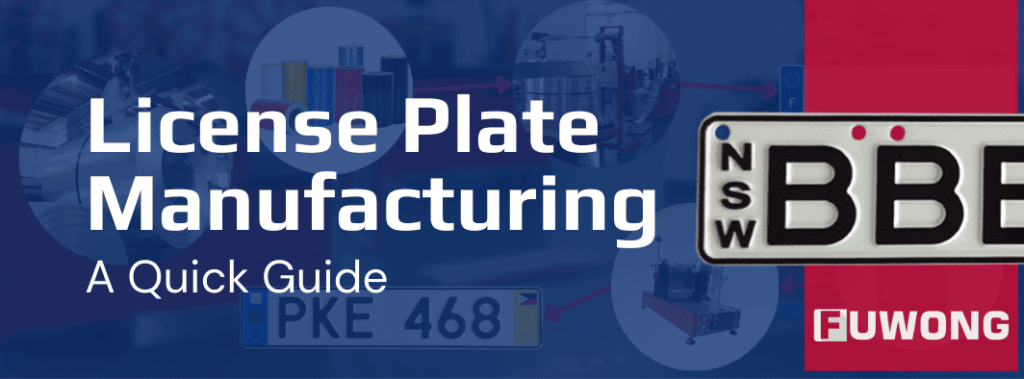
The process of license plate manufacturing is an important part of controlling vehicles and making sure that every car on the road can be identified.
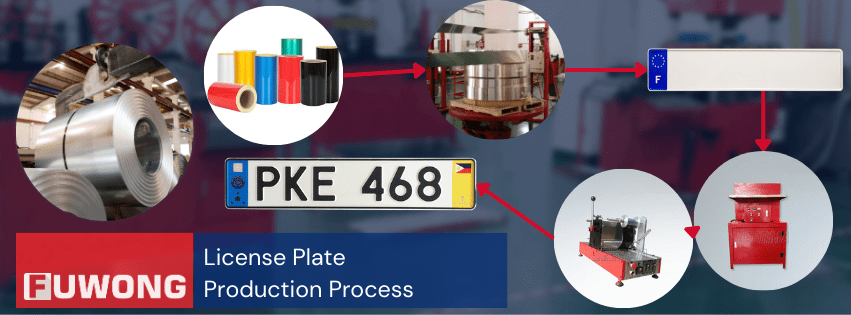
This guide tells you everything you need to know about how license plates are made, including the materials used, the technology used, the ways they can be customized, and the strict rules that govern their creation.
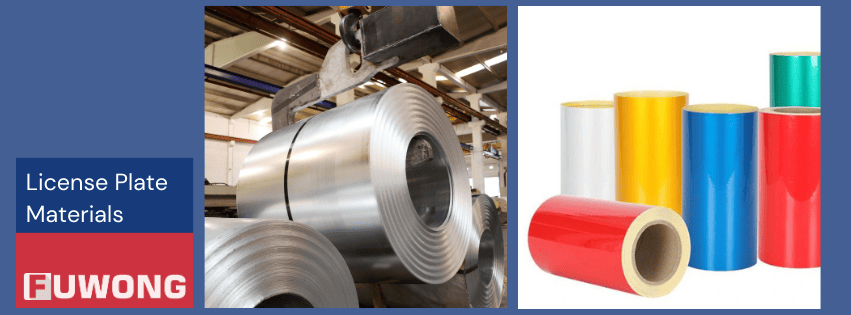
What Materials Are License Plates Made of?
Aluminum sheets and reflective sheetings are the two main raw materials commonly used for the license plates today.
Step-By-Step Manufacturing Process Of License Plates
To make sure that every license plate meets legal and practical standards, the process is very complicated and uses both modern industrial methods and strict quality control.
Step # 1: Selection And Preparation Of Materials
Aluminum is the primary material used to make license plates because it is strong, durable, resistant to rust, and very lightweight.
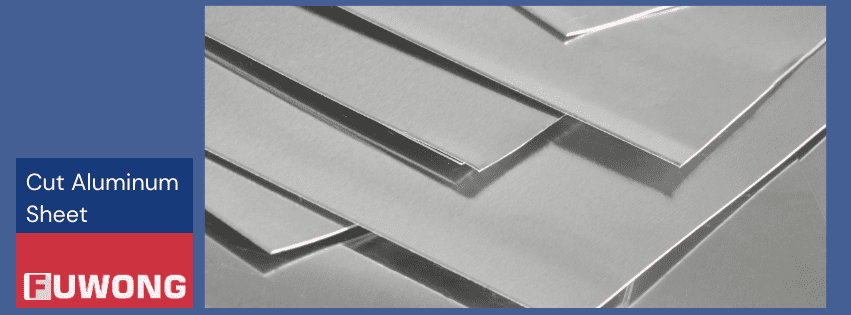
The first step in making a license plate is to obtain the aluminum material and cut it to the size required for the plate, which is governed by regional or national laws.
Step # 2: Aluminum Sheet Material Cleaning
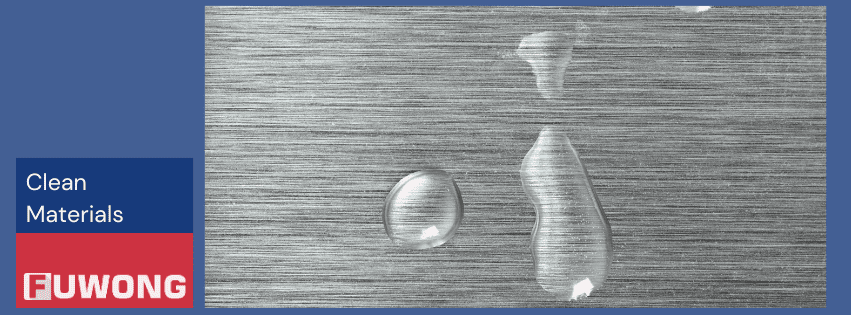
Once the cutting is complete, the aluminum sheet needs to be thoroughly cleaned to remove any dirt, oil or residue from the surface to ensure adhesion of the coating or printing.
Step # 3: Roll Coating for Background Color
Following the material preparation, the next layer applied is the background color, which gives the license plate its distinctive appearance. This color layer is important because it’s what you can see at the bottom of the plate.
Step # 4: Surface Lamination with Reflective Sheeting
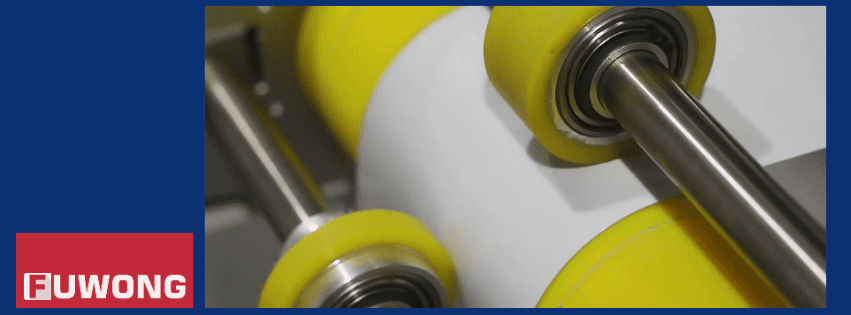
Ready-made aluminum coils or sheets need go through a very important surface improvement process called the reflective sheeting lamination. This step is necessary to make sure that license plates can be used in a range of lighting situations.
Step # 5: License Plate Pressing & Blanking
The blanking process involves the use of high-precision, high-pressure production line that cut the aluminum coils or sheets into specific dimensions and shapes as mandated by the vehicle regulatory standards.
Step # 6: License Plate Embossing
The next important step in the process is called license plate embossing .
The main result of this step is higher letters and numbers that stand out from the plate’s surface and give it a noticeable 3D effect. This embossment makes the license plate much easier to read and recognize from a range of angles and distances, which is very important for identification and law enforcement.
Step # 7: Coloring of Embossed Characters
After the letters and numbers are pressed, the next important step is to make sure that they stand out against the background of the license plate. This is where the making of the ink comes in.
This inking can be done by hand or by a machine, depending on the specifications and opinions of the license plate maker.
Step # 8: Quality Inspection and Packaging

Before being packed, every license plate goes through a thorough quality assurance check to make sure it meets all the requirements set by the government.
Step # 9: Shipping

After these plates are safely packed, they are sent to the Department of Motor Vehicles (DMV) or another organization in charge of car registration.
There, they are ready to be given to new car owners or people who want to update their licenses. This gives vehicles on the street new identification.

